Rose Hips Protein Balls
These rose hips protein balls are a no-baked mid-morning snack that provides many post-workout benefits. And you can make a large amount to store either in the refrigerator or freezer to consume when you want. You can also mix and match the micronutrients or supplements of your nutritional workout program. Replace those disgusting store bars that contain all kinds of difficult to pronounce chemicals preservatives.
Benefits
Make it the way you want it. With powdered superfoods, you can make these raw vegan protein balls are gluten-free with an arsenal of benefits. Mix and match the amount of energy, macros, and micronutrients to suit your workout goals. If you need electrolytes, add banana powder. If you need protein add moringa. If you need to wake up make some with mint and others with lemon zest.
Ingredients
Dough:
- 1/2 cup dehydrated & soaked whole almonds
- 1/2 cup apricots
- 2 teaspoons coconut oil
- 4 teaspoons rose hips powder
- 1 teaspoon ground ginger
- 1/2 teaspoon ground vanilla
- 1 teaspoon cinnamon
- 1/2 teaspoon chili powder
- pinch of salt
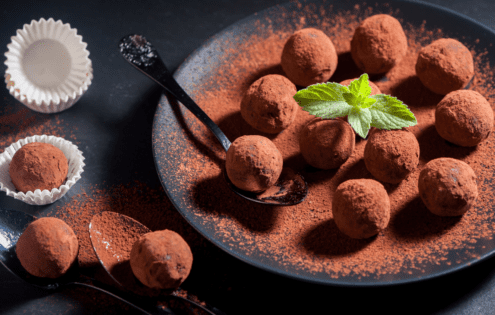
Coating
- 1 teaspoon rose hips powder
- 1 teaspoon raw cocoa powder
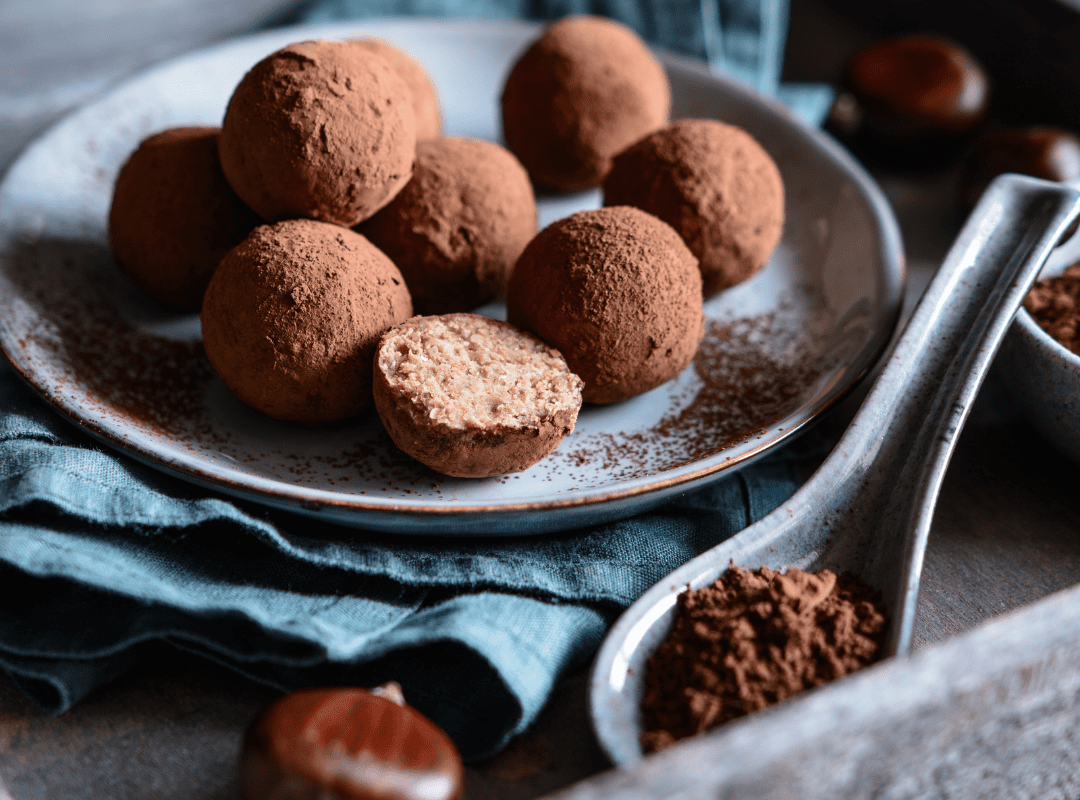
Preparation & Cooking Instructions
- With a food processor, blend the almonds until they create a fine flour texture.
- Mash the apricots before blending them with almonds in the food processor. Blend until reaching a fine consistency.
- Pour in the coconut oil then blend again.
- Add in all the spices (ground vanilla, ground ginger. rose hips powder, chili powder, cinnamon) with a pinch of salt then mix well. Mixing this may take a bit of time.
- Have a baking sheet ready for when dough finishes mixing. Take the dough then knead it into a flat form on the baking sheet.
- Cover the flat dough with parchment paper. Place the baking sheet into the refrigerator for 15 minutes so it may settle.
- When removing from the refrigerator, the dough will be solid and ready for the mold of your choice.
- Using a small spoon, scoop the dough then roll into small balls.
- In a bowl, mix the coating ingredients together.
- Roll the balls in the coating mixture or sieve the coating mixture on top.
- Enjoy!